![]()
![]()
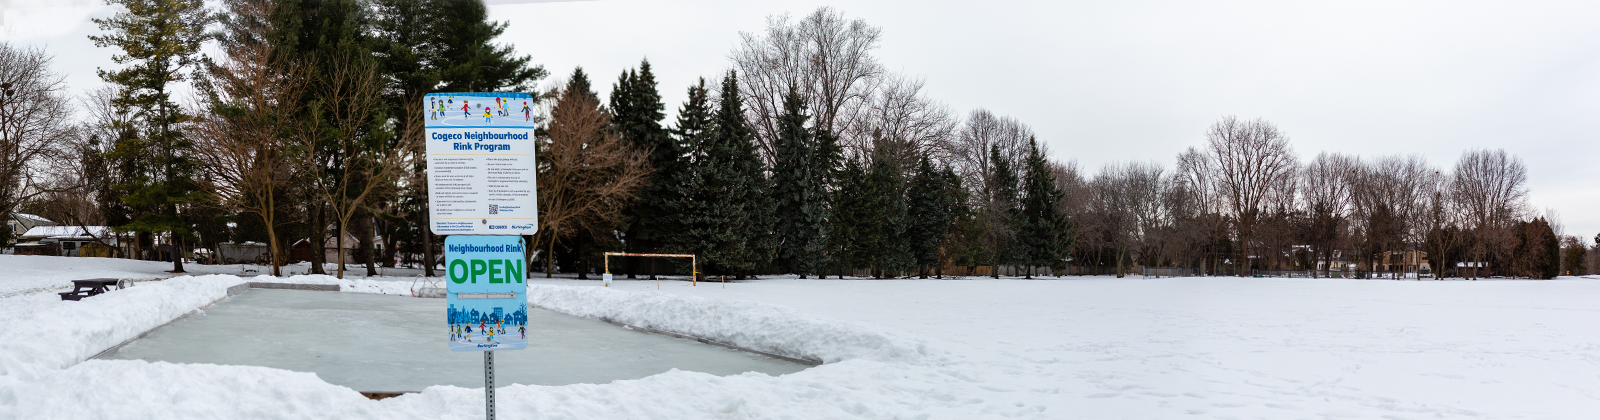
The Cogeco Neighbourhood Rink Program is a collaboration between residents and the City of Burlington. Residents can apply to have a skating rink in their local City of Burlington-owned park.
Winter 2026 Neighbourhood Rink Locations
You can check the current open or closed status of each rink. While the page is updated regularly, visitors must always follow all onsite signage and directions at the outdoor rink, as conditions can change and onsite information takes priority over what is shown online.
- Breckon Park
- Cleaver Park
- Fothergill Woods Park
- Greenwood Park
- Kilbride Park
- Maplehurst Park
- Sheraton Park
- Sherwood Forest Park
- Sinclair Park
Volunteer Responsibilities
- Volunteer team must include one primary contact plus at least 5 additional residents over 18 who live in the surrounding area and are committed to maintaining the ice rink throughout the winter season.
- Complete the required volunteer training.
- Provide a water source and water at their own expense where there is no City water source.
- Build, maintain and flood the rink to standards acceptable to the City.
- Complete daily inspection submitted to the City and maintain the open/closed sign.
- Provide storage of rink tarp (if in good condition) provided by the City through the off-season.
City Staff Responsibilities
- Approve location of rink within City parks.
- Conduct volunteer training.
- Cover Liability Insurance for the volunteer group where service levels, inspection expectations and the agreement are upheld.
- The City will:
- Provide the required length of hose to flood rink
- Provide a rink liner
- Provide and install a Neighbourhood Rink Rules Sign and an Open/Closed sign
- Provide a picnic table
- Provide and install perimeter boards for the approved site
| Steps for a Neighbourhood Rink |
| Follow these steps to help you organize your rink application and operate with success. |
| Establish Rink Committee and appoint a lead |
| A Rink Committee of a minimum of six adults must be established to oversee the rink. Each Rink Committee requires a lead, who will be the City of Burlington’s contact for the neighbourhood rink for the season. Identify a water source for the season and source any equipment that may be required (shovel, snow fencing, lighting, etc.). Contact the City with any questions about the program. |
| Complete the online application |
|
Collect all volunteer information and have one person complete the application form. |
| City reviews the application |
| City staff will review the application and location requested. Staff will communicate to lead volunteer if application is approved. |
| Complete volunteer training |
|
All volunteers must complete the volunteer training and sign the volunteer agreement to be covered by the City’s insurance. |
| Rink preparation and equipment |
The City will:
|
| Wait for cold temperatures |
| Adding water over several days with consistently cold temperatures (-5 degrees Celsius) is the best method for creating your rinks. |
| Install the rink liner for initial |
| Install the rink liner within the boards and using City water (if available) or a personal water source, begin to flood the rink. Flooding the rink in layers is the best option for outdoor rinks.
Continue flooding the ice until the ice is deep enough and the rink is frozen. Ensure that the rink signage is marked as closed, and the public is aware. Discuss options to keep people off the rink with City staff before the rink is completely frozen. |
| Open the rink |
| Once the rink has completely frozen, the rink can be opened for the season. Switch the closed sign to open and let everyone know the rink is open for use. Lighting approved by the City must be temporary and removed by 10 p.m. Lighting cannot stay in the park overnight. |
| Complete the daily checklist and regular maintenance |
| A volunteer is responsible for checking on the ice and the area around the ice once per day, completing the online checklist and changing the Open/Closed sign where necessary. Continue regular flooding on the ice to ensure the ice is safe to use. |
| Close the rink for the season |
| When the rink is not safe to use, switch the rink signage to closed. Tell your City contact the rink is closed for the season. City staff will begin to dismantle the boards to allow the remaining water in the tarp to be removed. Once the tarp has no more water, volunteers are to remove the tarp and store it for the offseason. If the tarp is damaged, please dispose of it. City staff will remove the boards from the park and collect the hoses from residents. |
| Provide feedback to the City and plan for next year |
| Communicate any challenges, success and recommendations to your City contact. |
Frequently Asked Questions
| What is a typical season length? |
| The season is weather dependent but is generally, January to March |
|
What are the public skating guidelines? |
|
Only skate or step on the ice when the sign indicates it is open Rinks are unsupervised Helmets are recommended Only skating is allowed. Do not play hockey Rinks are natural and therefore can be uneven compared to indoor artificial ice surfaces and are "use at your own risk" |
| What is the best method to build ice? |
| Adding water over several days with consistently cold temperatures (-5 degrees Celsius) is the best method for creating your rinks. Let the water freeze before adding another layer. |
| Can lighting be used onsite? |
|
Lighting is permitted but must be approved by the City of Burlington before use. The lighting must be temporary and removed by 10 p.m. |
Thank you to our Program Sponsor, Cogeco.